
Introduction
This post is part of a series titled An Introduction to the SSIS Expression Language.
In this post, I demonstrate the SSIS Expression Language and Dynamic Property Expressions.
To build the demo project described in this article you will need SSIS 2005 and the AdventureWorks sample database (which can be downloaded at http://www.codeplex.com/MSFTDBProdSamples/Release/ProjectReleases.aspx?ReleaseId=4004).
Build The Demo Project
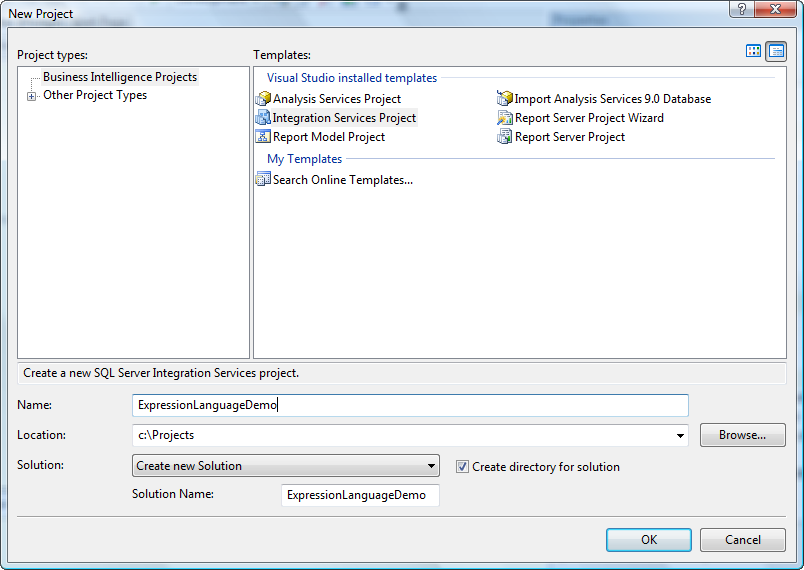
If you have not already done so, create an SSIS project named ExpressionLanguageDemo.
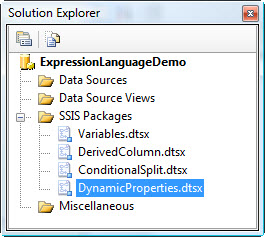
Once the project is created, open Solution Explorer and rename Package.dtsx – change the name to DynamicProperties.dtsx. If you’ve already created the project, right-click the SSIS Packages folder in Solution Explorer and click New Package – and rename that package to DynamicProperties.dtsx. When prompted, rename the package object as well. (I think you should always do this – I always answer this message box by clicking the Yes button.)
A New Source
Before we begin connect to your instance of SQL Server – I’m using (local) – and execute the following T-SQL statement:
use master
go
if not exists(select name
from sys.databases
where name=‘TestSource’)
Create Database TestSource
go
use TestSource
go
if not exists(select name
from sys.schemas
where name = ‘Person’)
begin
declare @Sql varchar(100)
set @Sql = ‘create schema Person’
exec(@Sql)
end
go
if not exists(select name
from sys.tables
where name=‘Contact’)
begin
select top 1000
ContactID
,Title
,FirstName
,MiddleName
,LastName
,EmailAddress
into Person.Contact
from AdventureWorks.Person.Contact
end
else
begin
truncate table Person.Contact
insert into Person.Contact
select top 1000
ContactID
,Title
,FirstName
,MiddleName
,LastName
,EmailAddress
from AdventureWorks.Person.Contact
end
This script creates a new database with a table named dbo.Contact, which it populates from the AdventureWorks database. We’ll use this other data source to demonstrate a cool use of dynamic property expressions.
Manage the Connection
Rename the (local).AdventureWorks Connection Manager to MySource:
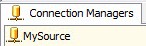
Click MySource and press the F4 key to display Properties. Highlight the ConnectionString property value and copy it to the clipboard.
Right-click anywhere in the white-space of the Control Flow and click Variables. Create a new variable named ConStr. Check to make sure the Scope of the Varibale is DynamicProperties (the package) and set the Data Type to String. In the Value textbox, paste the contents of the clipboard (the connection string of the MySource connection manager).
Back To Our Regularly Scheduled Flow…
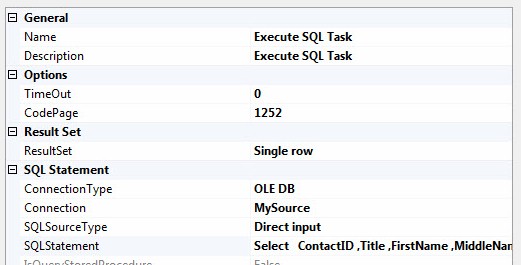
Drag an Execute SQL Task onto the Control Flow and double-click the Execute SQL Task to open the editor. Drag an OLE DB Source onto the canvas. Double-click the OLE DB Source to open the editor. Set the Connection property to MySource.
Set the Data Access Mode to SQL Command and enter the following T-SQL statement into the SQL Command Text textbox:
Select Count(*)
From Person.Contact
Set the ResultSet property to Single Row:
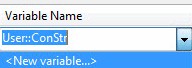
Click the Result Set page and then click the Add button. Set the Result Name to 0. Drop down the Variable Name column and click <New Variable>:
When the Add Variable form displays, set the Name to CountVal, Value Type to Int32, and the Value to 0:
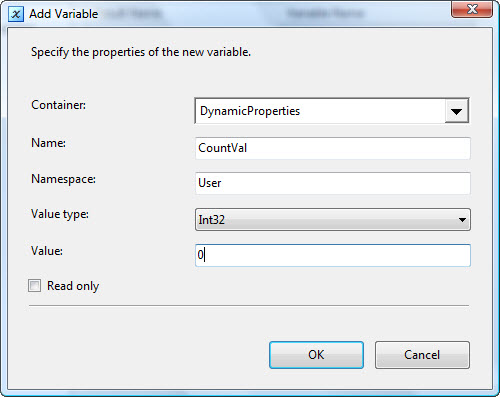
Click OK to close the Add Variable form:

Click OK again to close the editor.
Follow the Script
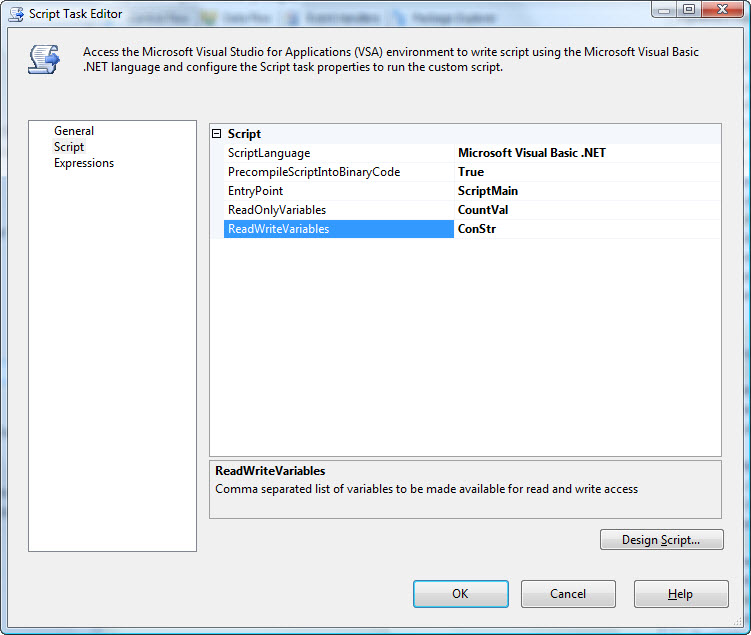
Drag a Script Task onto the Control Flow and connect a precedence constraint (green arrow) from the Execute SQL Task to the Script Task. Double-click the Script Task to open the editor.Click the Script page and set the ReadOnlyVariables property to CountVal. Set the ReadWriteVariables property to ConStr:
Click the Design Script button to open the Visual Studio for Applications (VSA) editor.
Replace the code with the following:
Imports System
Imports System.Data
Imports System.Math
Imports Microsoft.SqlServer.Dts.Runtime
Public Class ScriptMain
Public Sub Main()
Dim sConStr As String = Dts.Variables(“ConStr”).Value.ToString
Dim iCountVal As Integer = Convert.ToInt32(Dts.Variables(“CountVal”).Value)
Dim sMsg As String
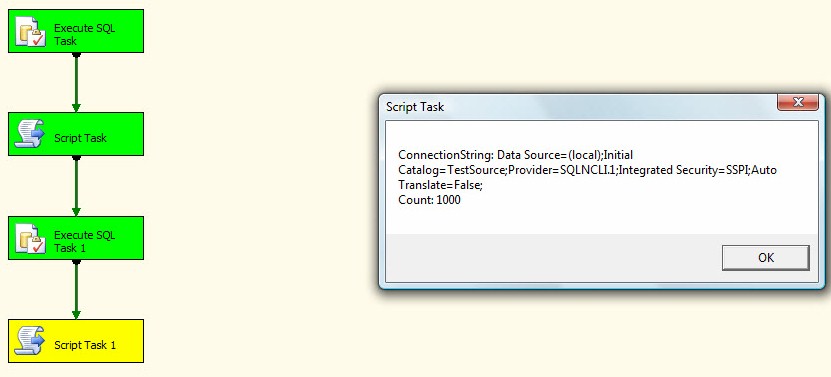
sMsg = “ConnectionString: “ & sConStr
sMsg = sMsg & vbCrLf & “Count: “ & iCountVal.ToString
MsgBox(sMsg)
Dts.Variables(“ConStr”).Value = Strings.Replace(sConStr, “AdventureWorks”, “TestSource”)
Dts.TaskResult = Dts.Results.Success
End Sub
End Class
This script reads the value of the ConStr and CountVal variables, then displays them in a message box. Finally, the script changes the value of the ConStr variable, replacing the AdventureWorks database with the TestSource database. We’ll use this change in a bit.
Close the VSA editor and click the OK button to close the Script Task editor.
Go Back, Jack, Do It Again…
Copy the Execute SQL Task and paste it in the Control Flow. Connect the Script Task to the pasted Execute SQL Task (Execute SQL Task 1).
Drag another Script Task onto the Control Flow. Connect a precedence constraint from Execute SQL Task 1 to Script Task 1 and double-click it to open the editor. As before, add ConStr to the ReadOnlyVariables property and CountVal to the ReadWriteVariables property. Click the Design Script button and paste the same code as before into this Script Task.
I can hear you thinking: “Andy, why not just copy and paste the Script Task?” That’s an excellent question! Script Tasks are very fickle on the clipboard. On 32-bit systems, you get better results. On x64, it gets ugly. The task fails with the error:
Error: Precompiled script failed to load. The computer that is running the Script Task does not have a compiler capable of recompiling the script. To recompile the script, see the Microsoft Knowledge Base article, KB931846 (http://go.microsoft.com/fwlink/?LinkId=81885).
Ugly.
One Last Thing
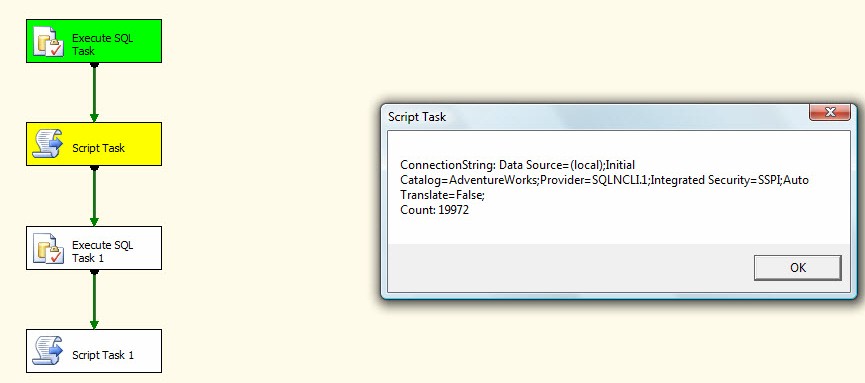
Ok. We’re counting the rows in the AdventureWorks.Person.Contact table and displaying that value in a message box. Then, we’re altering the connection string contained in the ConStr variable to point from AdventureWorks to TestSource, and then re-executing the Count query. Then we’re displaying the ConStr variable value and the Count value again.
We’re almost done. Here’s where we use dynamic property expressions.
Click the MySource Connection Manager and press the F4 key to display the properties. Click the the Expressions property, then the ellipsis (…) button in the value textbox. The Property Expressions Editor form displays. Click the Property dropdown and select the ConnectionString property. In the Expression textbox, type @ConStr.
This maps the value contained in the ConStr variable into the ConnectionString property of the MySource Connection Manager – dynamically. Change the variable value and the ConnectionString changes. It’s that simple – and that cool.
Test It!
Execute the package in debug mode to view the results:
Conclusion
Changing a connection string dynamically is but one use of Dynamic Property Expressions, albeit a very powerful use.
:{> Andy
Comments