

Azure Automation has been around for a few years now. I just got started because my brother and friend, Aaron Nelson (@SQLvariant), shared some automation he’s been working on. Once I got my head around the piece I’m about to share with you, Azure Automation started to make sense to me.
Set Up an Azure Automation Account
Browse to portal.azure.com. Search for “automation” and then click “Automation Accounts”:

The Automation Accounts blade displays. Click the “+ Create” link:

The “Create an Automation Account” blade displays. On the Basics tab, select a Subscription, select or create a resource group, enter a name for the new automation account, and select a region. “Click the Review + Create” button:

If all goes as planned, validation will succeed. Click the “Create” button to create the new Azure automation account:

Add a Dash of Security
In this example, we will use automation with an Azure Data Factory instance. Configure similar security to use Azure Automation with other Azure services.
Once the automation account has been created, create (or browse to) an Azure Data Factory (ADF) instance. On the ADF administration blade, click “Access control (IAM)” on the left menu, and then click the “Role assignments” tab on the right:

Click the Add button, and then click “Add role assignment,” to add a new role:

When the “Add role assignment” blade displays, select the Reader role:
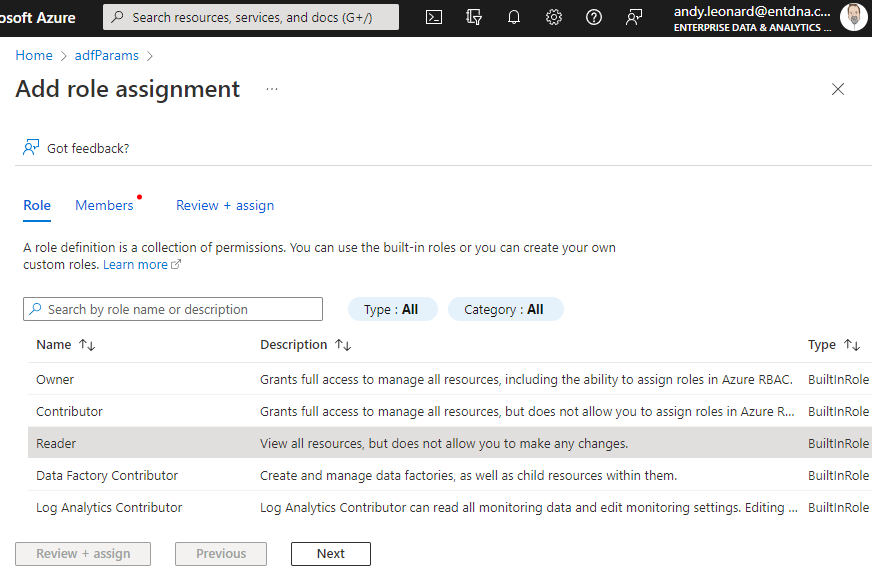
Click the Next button.
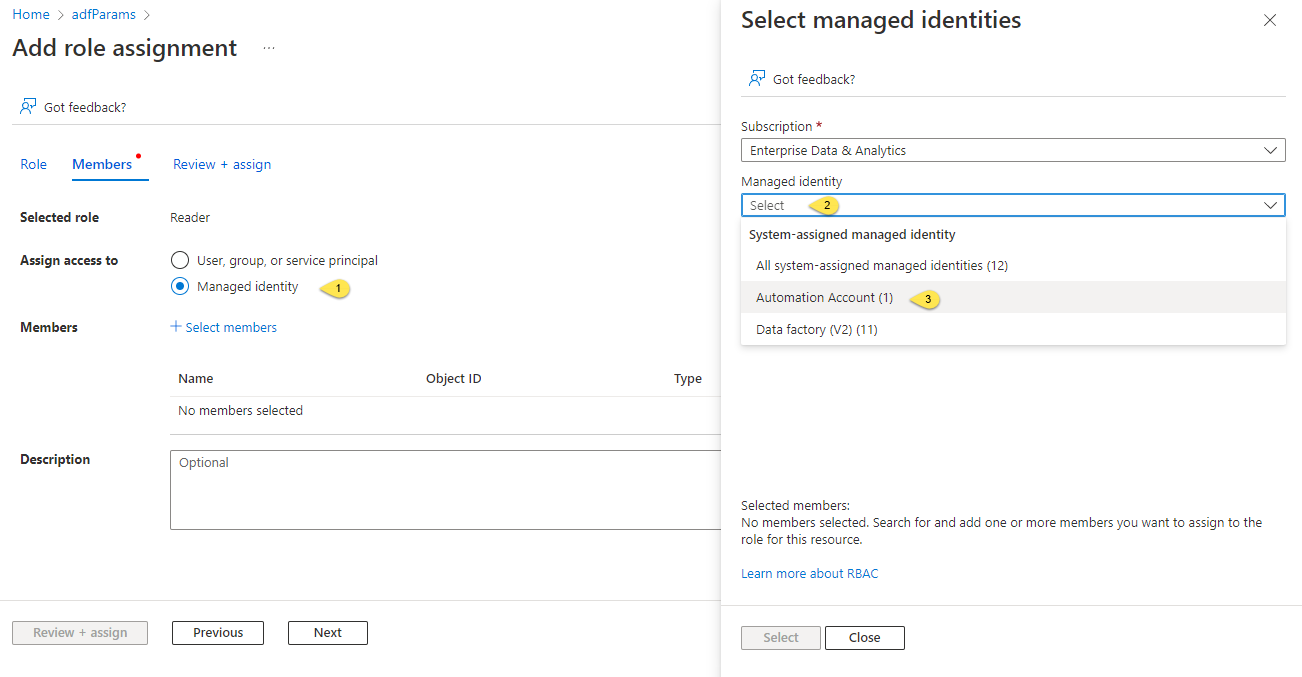
- Select the “Manage identity” option
- When the “Select managed identities” blade displays, click the “Managed identity” dropdown
- Select “Automation Account” from the list to display a list if available Automation accounts:
Click the Automation account you desire to assign the Reader role (not pictured).
The selected automation account displays in the “Selected members” section of the “Select managed identities” blade:

Click the Select button to proceed.
A summary of the member configuration is displayed on the “Add role assignment” blade’s “Members” tab:

Click the “Review + assign” button.
The “Review + assign” tab displays a summary of the role assignment. Click the “Review + assign” button to complete the configuration:

Your new role assignment is displayed on the “Access control (IAM)” page in the “Role assignment” grid:

After adding the automation account to the Reader role for the Azure Data Factory, the next step is to create some automation!
Counting Pipelines
Now that we’ve created the automation account and added the automation account to an ADF’s Reader role, we may use Automation to interact with the data factory.
Browse to the automation account blade:
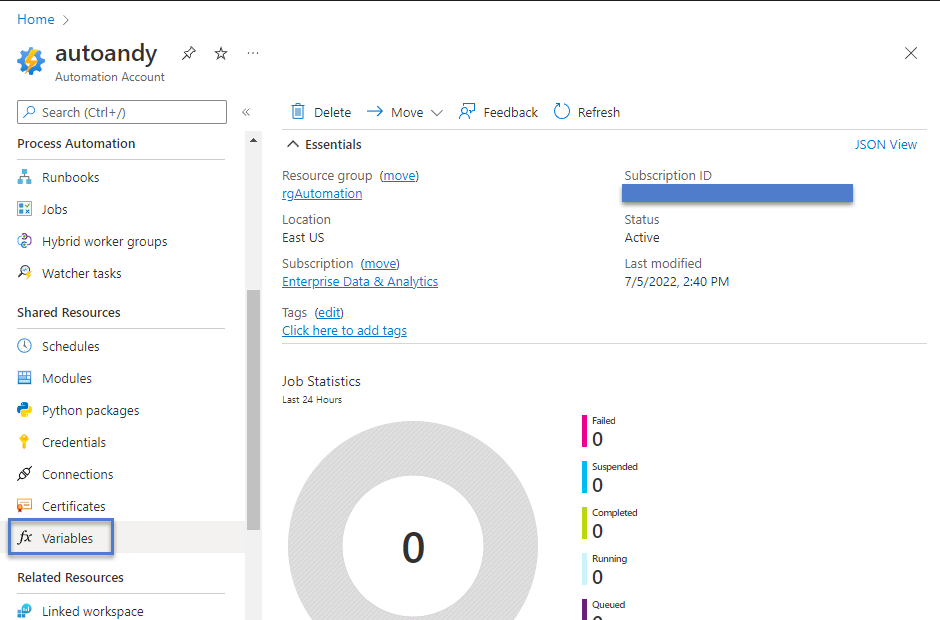
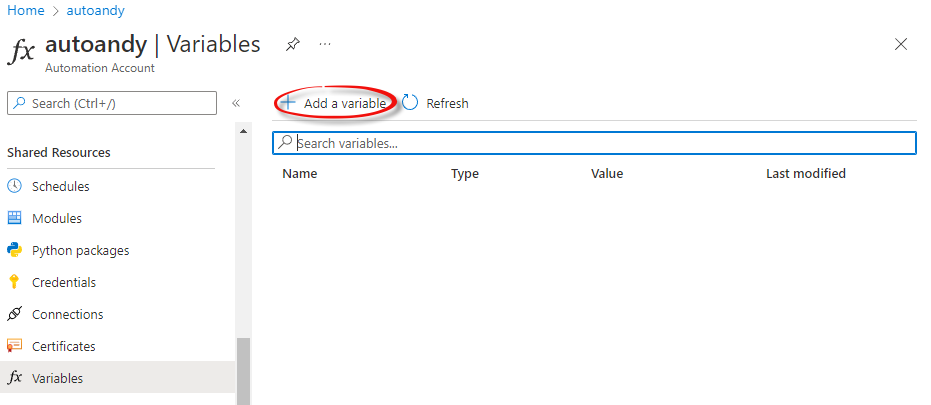
On the left navigation pane, click “Variables” in the “Shared Resources” topic to open the Variables blade. Click the “+ Add Variable” link:
When the “New Variable” blade displays, enter the variable name, (optional) description, and Value. Also, set the data type:

I created two variables:
- ADF-DataFactoryName – contains the name of the data factory
- ADF-ResourceGroupName – contains the name of the resource group for the data factory

Next, click “Runbooks” from the left menu. It’s located in the “Process Automation” category:
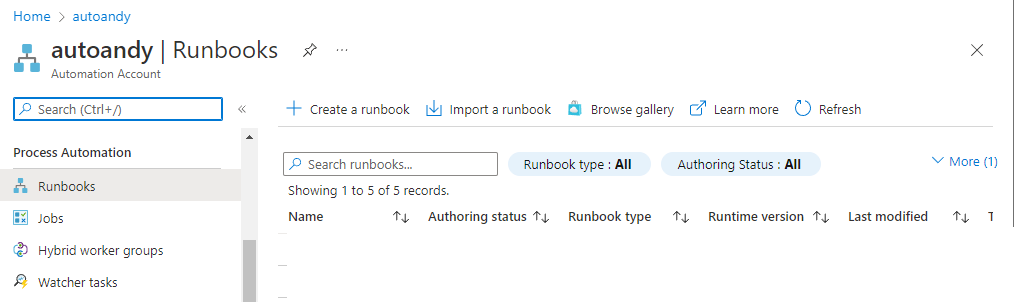
Click “+ Create a runbook” to, well, create a new runbook!
When the “Create a runbook” blade displays:
- Enter a runbook name
- Select a runbook type
- Select a runtime version
- Click the Create button:

When the runbook blade displays, click the Edit link to start editing:

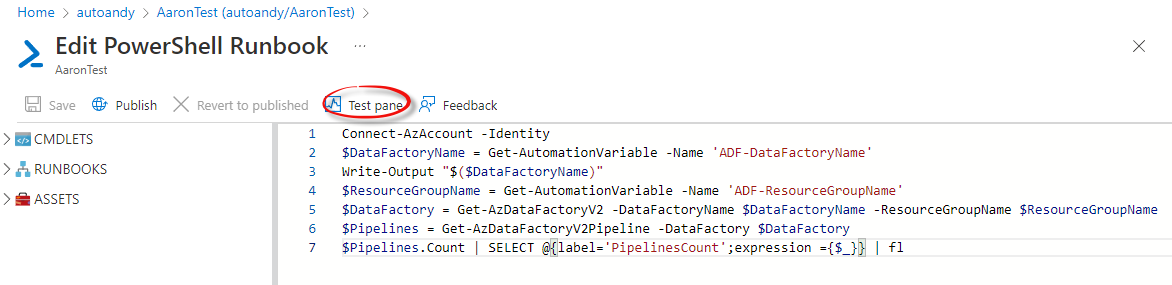
Enter the following PowerShell in the editor:
Connect-AzAccount -Identity

$DataFactoryName = Get-AutomationVariable -Name 'ADF-DataFactoryName'

Write-Output "$($DataFactoryName)"

$ResourceGroupName = Get-AutomationVariable -Name 'ADF-ResourceGroupName'

$DataFactory = Get-AzDataFactoryV2 -DataFactoryName $DataFactoryName -ResourceGroupName $ResourceGroupName

$Pipelines = Get-AzDataFactoryV2Pipeline -DataFactory $DataFactory

$Pipelines.Count | SELECT @{label='PipelinesCount';expression ={$_}} | fl
In sum, the PowerShell above:
- Connects to an Azure account
- Creates a variable named $DataFactoryName, and then populates the value of $DataFactoryName from the automation variable named ADF-DataFactoryName
- Outputs the value of the $DataFactoryName variable
- Creates a variable named $ResourceGroupName, and then populates the value of $ResourceGroupName from the automation variable named ADF-ResourceGroupName
- Creates a variable named $DataFactory, and then populates the value of $DataFactory with a Data Factory object using the Get-AzDataFactoryV2 cmdlet
- Creates a variable named $Pipelines, and then populates the value of $Pipelines with a collection of Data Factory Pipeline objects using the Get-AzDataFactoryV2Pipeline cmdlet
- Pipes the value of the $Pipelines variable Count property, labeling the output “PipelinesCount”
I have to admit, this is my favorite part!
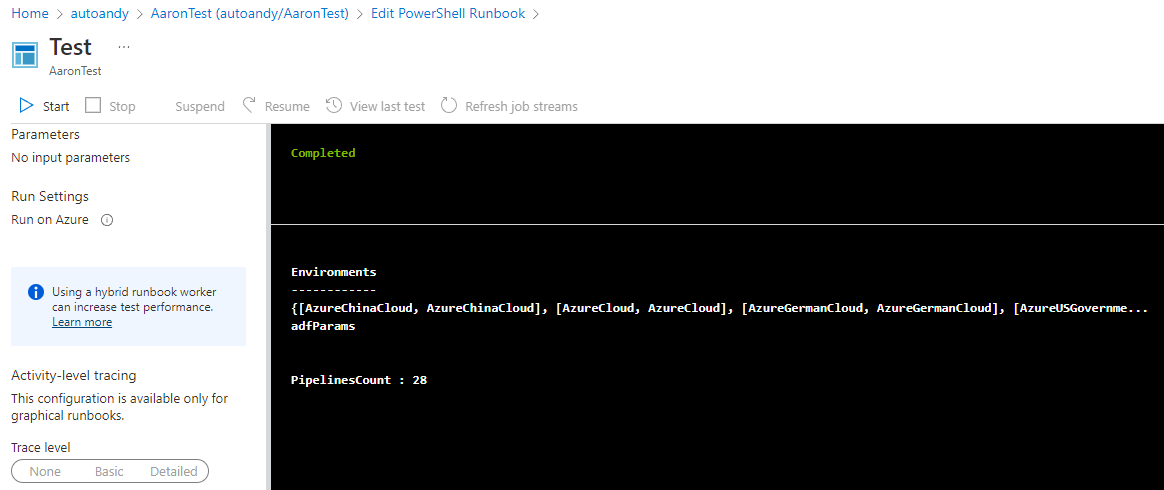
Click the “Test pane” icon:

Click the Start icon. Wait for the runbook to execute. When the text execution completes, your results should appear similar to those shown here:
Conclusion
Automation is pretty cool, regardless of the mechanism used, and I think Azure Automation is a pretty cool automation mechanism. I hope this helps you get started.
Thank you, Aaron, for helping me get started! :{>
Peace.
Want to Learn More?
Join me at the PASS Data Community Summit 2022 for A Day of Azure Data Factory – a full day pre-conference session Monday, 14 Nov 2022 in Seattle. Register today!
Need help automating data integration for your enterprise data warehouse? Contact me!
Awesome write up. Thanks
Thanks Bibin! :{>