

I’m writing about my journey with git, sharing my experiences along the way. The series to date:
- Azure DevOps, SSIS, and Git Part 0 – Getting Started
- Azure DevOps, Software Development, and Git Part 1 – Applied
- Azure DevOps, Software Development, and Git Part 2 – Distributed Version Control
- Azure DevOps, Software Development, and Git Part 3 – Command-Line
The Problem I Am Trying to Solve
I want to use Azure DevOps to manage files stored in a folder on my test virtual server by adding them to an Azure DevOps project. I chose my SCCPAC files folder. You can learn more about SCCPAC files in a post titled SSIS Catalog Compare Enterprise Generates SCCPAC Files. I can hear some of you thinking…
“What’s an SCCPAC File, Andy?”
I’m glad you asked!
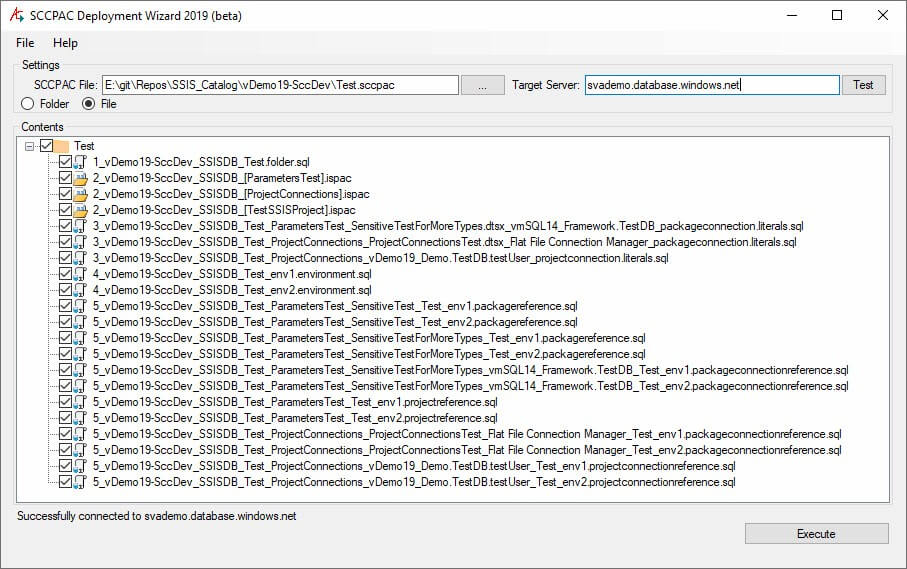
I made up a file type. I wrote SSIS Catalog Compare (SCC) to manage metadata stored in SSIS Catalogs. SSIS Catalog Compare Enterprise Edition includes the SCCPAC Installation Wizard, which reads sccpac files – a zip file created when generating SSIS Catalog folder scripts; the zipped archive contains the SSIS Catalog Compare-generated scripts and ISPAC files for all SSIS Catalog artifacts stored in the SSIS Catalog folder:
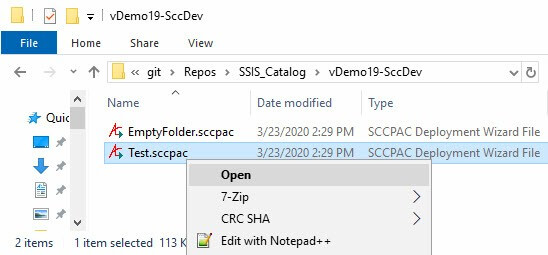
In an earlier post, I generated SCCPAC files and stored them in a local git repository. The full path on my test virtual server is E:\git\repos\SSIS_Catalog\vDemo19-SccDev:
One Way to Configure Azure DevOps to Work with the Git Command Line
There are a handful of steps involved in configuring Azure DevOps to work with the Git command line:
- Create an Azure DevOps Project
- Install the Azure CLI
- Install and configure the Azure DevOps extension
- Connect to Azure DevOps
- Configure the Azure DevOps extension to interact with our Azure DevOps organization and project
- Install Git
- Initialize a folder as the local git repository
- Add files to the local repository
- Commit the added files to the local repository
- Push the committed files in the local repository to the remote repository in Azure DevOps
Create an Azure DevOps Project
Navigate to Azure DevOps, sign in, and click the New Project button:

The Create new project blade displays. Supply project configuration information:
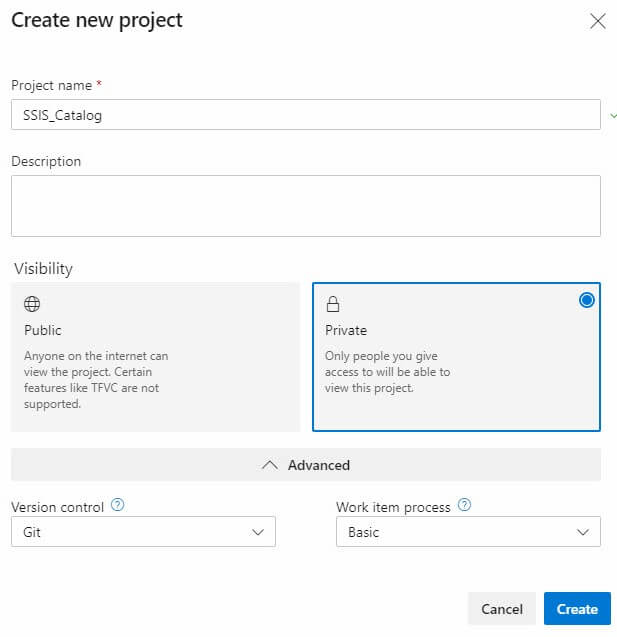
Click the Create button to proceed:
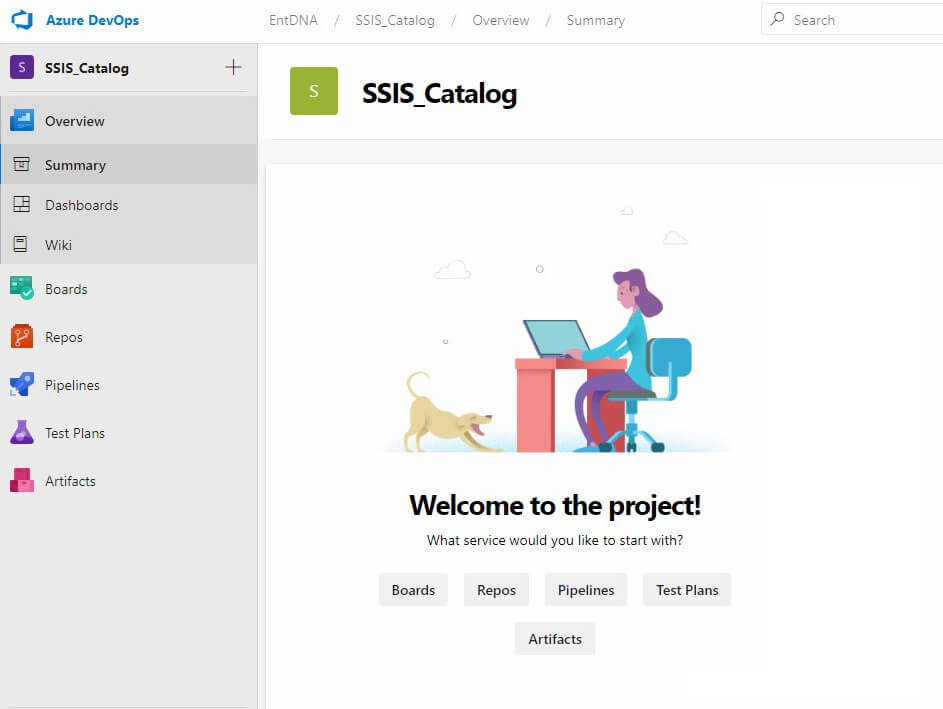
Click the Repos page:
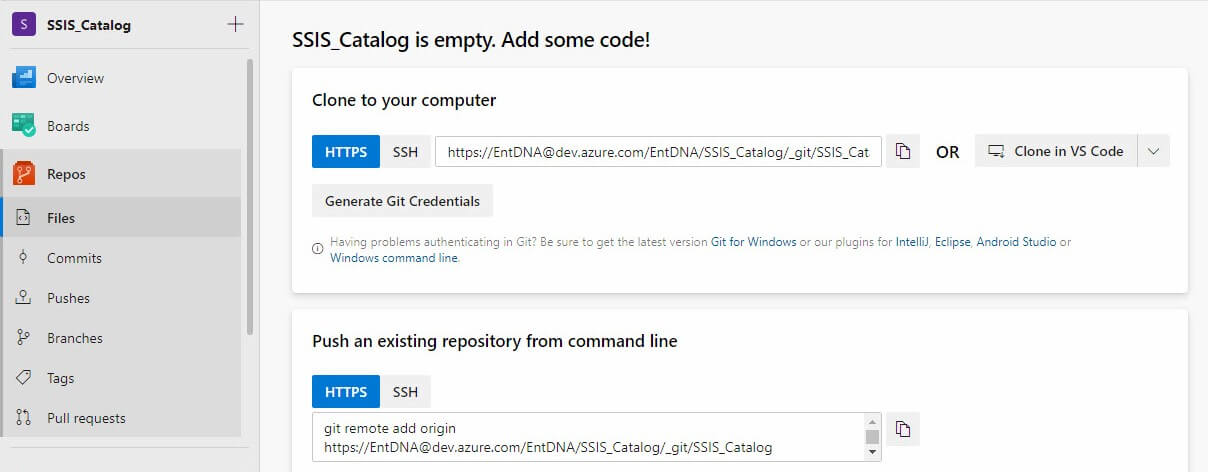
The Repos page indicates there are no files in my SSIS_Catalog project and supplies some helpful information for addressing the “no files” situation.
Let’s Try This
It’s entirely possible you reached this post because you searched for one of the error messages contained herein. If you want to blog and help others, one good way to get started is to post error messages you encounter as text and then explain how you addressed or resolved the error.
Let’s walk through the advice shared from the empty SSIS_Catalog Azure DevOps project, starting with…
Clone to Your Computer
Begin by clicking the Copy button beside the command as shown in #1 in the image below:
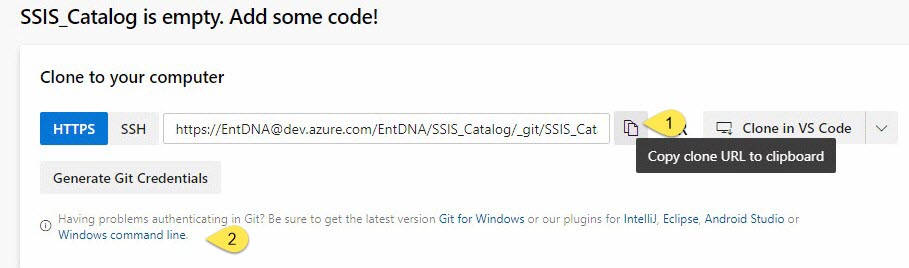
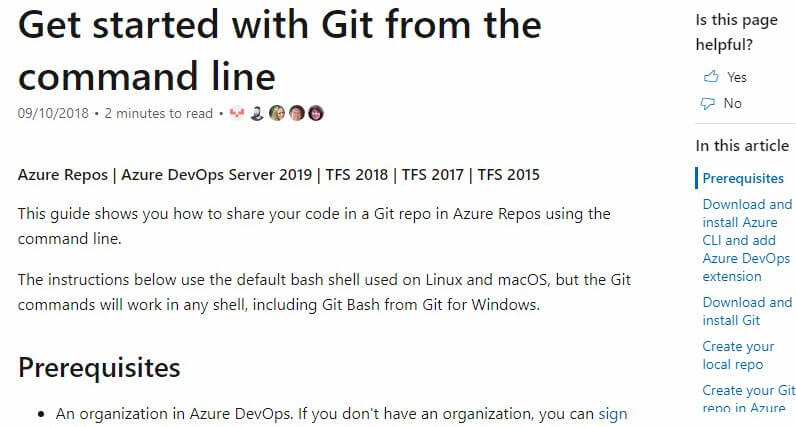
You may be looking at that command and thinking, “Great. How do I execute this command, Andy?” That’s a great question! I am going to use PowerShell. But before I go there, take a look at the information labeled #2 in fine print of the image above. Let’s click that last link. It takes us to an Windows document titled “Get started with Git from the command line“:
The first prerequisite is Download and install Azure CLI and add Azure DevOps. But remember, I’m going to use PowerShell. A couple clicks takes me to Install Azure CLI on Windows, and this article includes instructions on using PowerShell to install the Azure CLI:

Click the Copy button to copy the command to the clipboard.
Following the instructions (if you are going to use PowerShell along with me), the next step is to open PowerShell as an administrator. There is more than one way to accomplish this. I choose to use the ISE and I start the application as an administrator by clicking the Start button, searching for the ISE, right-clicking it, and clicking Run as Administrator:
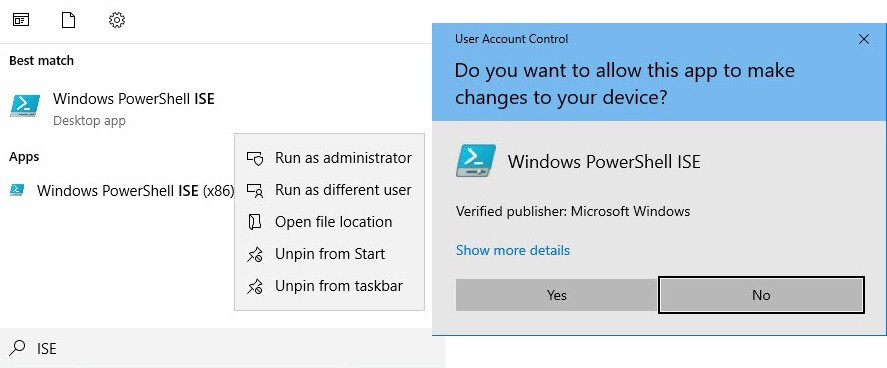
When you run any application as an administrator (with OS security defaults in place), you will need to verify.
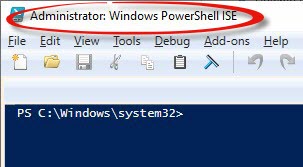
Once I click the Yes button, the PowerShell ISE opens and indicates it is running as an administrator in the title bar:
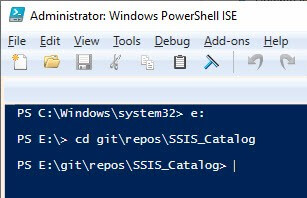
First, I navigate to the SSIS_Catalog drive and folder:
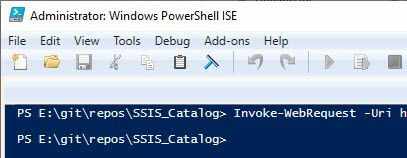
Now, I paste the command to install the Azure CLI:
Invoke-WebRequest -Uri https://aka.ms/installazurecliwindows -OutFile .\AzureCLI.msi; Start-Process msiexec.exe -Wait -ArgumentList ‘/I AzureCLI.msi /quiet’; rm .\AzureCLI.msi
and execute it. The Azure CLI takes a while to install. When complete, my ISE appears as shown here:
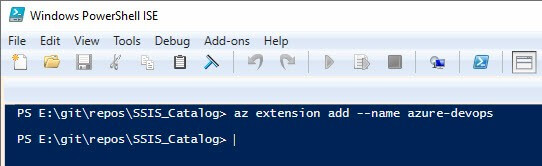
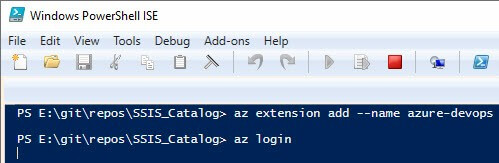
Next up? Add the Azure DevOps extension by executing:
az extension add –name azure-devops
But first open a non-administrator PowerShell ISE. Then execute the command in the non-admin PS ISE:
Login!
Let’s execute the command az login:
In my case, my default browser opens the Microsoft Login page:
Followed by the Password page:
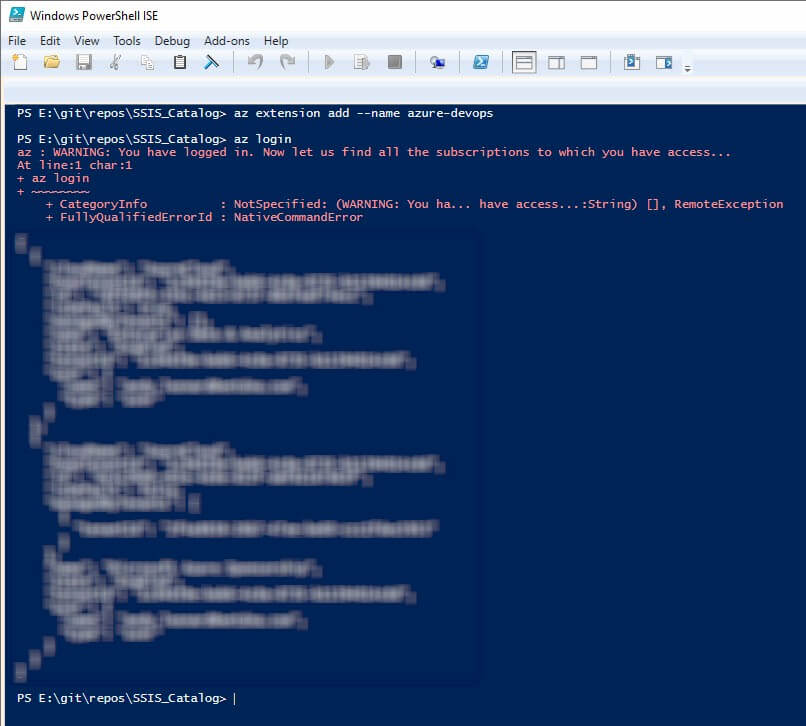
Once logged in I get feedback that looks like it might be an error, but it is not. The message begins:
az : WARNING: You have logged in. Now let us find all the subscriptions to which you have access…
Configure Az DevOps Defaults
The next step is to configure Azure DevOps default settings to use my Azure DevOps organization and project. This is accomplished using the following command:
az devops configure –defaults organization=https://dev.azure.com/EntDNA project=SSIS_Catalog
This command executes and returns quickly:

If you encounter an issue trying to set the organization and project defaults all at once, break this command into two separate commands:
az devops configure –defaults organization=https://dev.azure.com/EntDNA
az devops configure –defaults project=SSIS_Catalog
Where are we? We have installed and configured both the Azure CLI and the Azure DevOps extension. We’ve also connected to Azure DevOps and configured Azure DevOps extension defaults to interact with our Azure DevOps organization and project.
Install Git
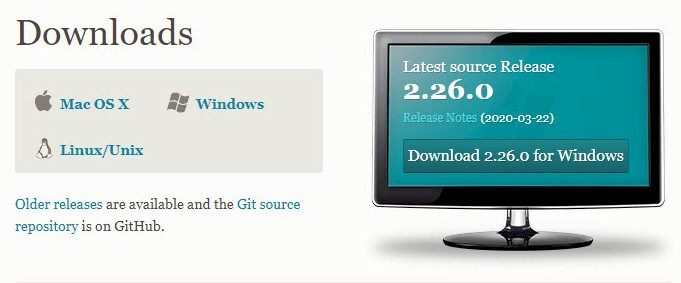
If Git is not installed on your server, open a browser and navigate to https://git-scm.com/downloads. Download the latest version – 2.26.0 at the time of this writing:
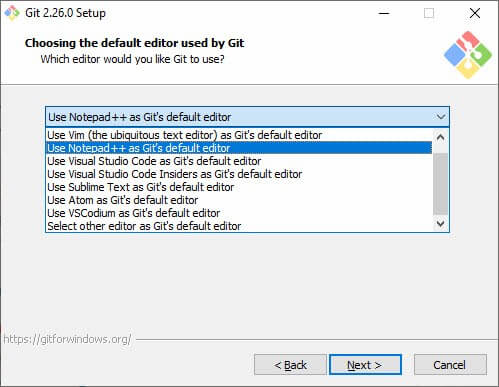
Execute the downloaded file. When I install Git on a Windows OS, I pretty much stick to the defaults with some exceptions. I like Notepad++ for my editor:
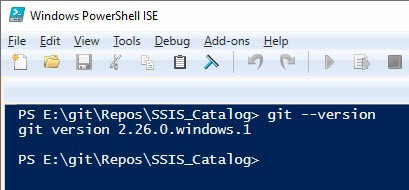
Once git is installed you may use git commands in the PowerShell ISE. One way to test Git is installed is to execute the command:
git –version
Initialize the Local Git Repository
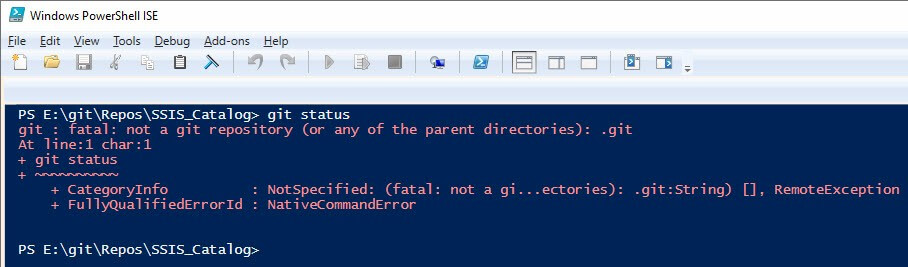
Although the SSIS_Catalog folder is in the path of other local Git repositories on my server, it is not a Git repository. How can I tell? If I execute the git status command, git will tell me:
git : fatal: not a git repository (or any of the parent directories): .git
Bummer. Fear not, we can fix this. Execute the command git init to initialize the SSIS_Catalog folder as a local git repository:
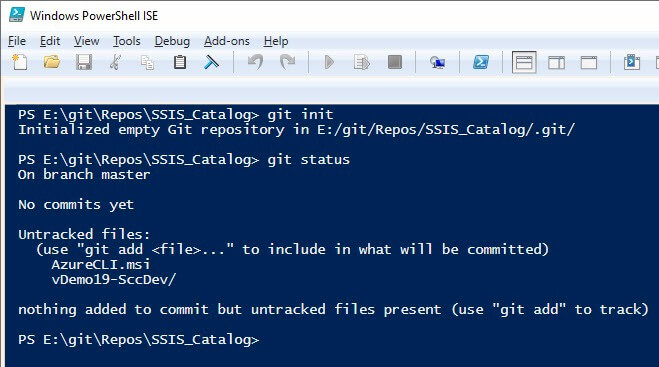
Note: executing git status now succeeds.
Add Files to the Local Repository
Before I add files to the local repository, I need to clean it up a bit. I don’t want to add the AzureCLI.msi file to my repo:
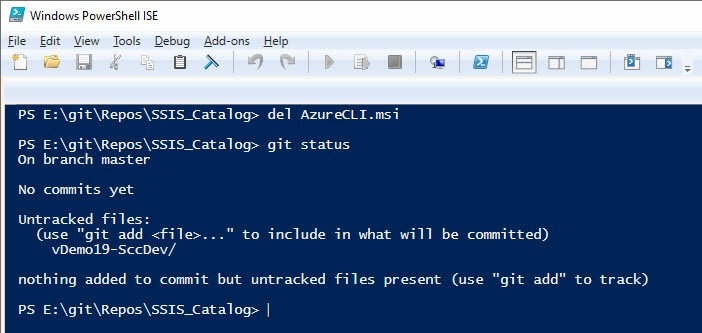
There. That’s better.
To add all the files in the SSIS_Catalog folder to my local repository, execute git add -A:
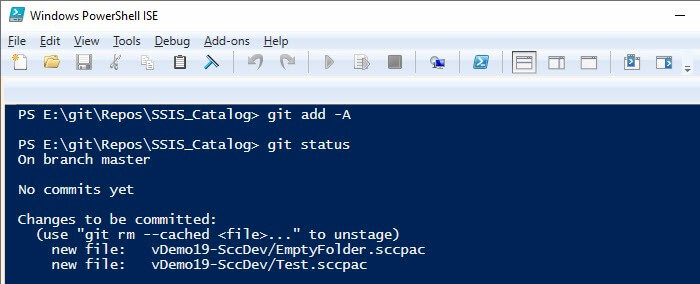
Executing git status shows local repository files in the vDemo19-SccDev folder are staged but not yet committed. Commit them by executing the git commit command. It’s always a good idea to add a commit message so others – or Future You – can have a look at how the code evolved. To accomplish committing the code to the local repository with a code comment, execute:
git commit -m “Initial commit”
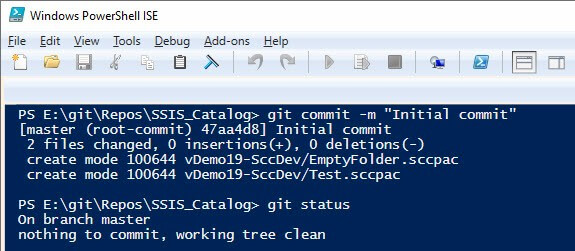
Note that git status tells us we are using the master branch and that our “working tree” is clean. You can learn more about branches – and all things git – by reading the Git book. It’s free! The chapter named Git Branches is a good place to learn more about branching in git.
Push to Azure DevOps
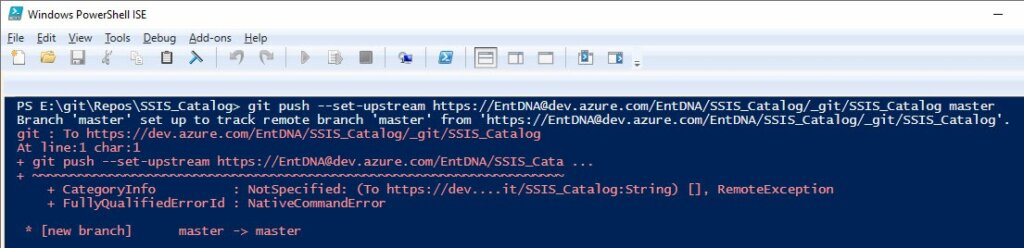
As you may well imagine, there are several ways to accomplish what we’ve already accomplished. There are also several ways to accomplish the next steps. I choose to set the upstream repository while executing a push command on the master branch. The command is:
git push –set-upstream https://EntDNA@dev.azure.com/EntDNA/SSIS_Catalog/_git/SSIS_Catalog master
Let’s break this down.
- git push tells git I am transmitting stuff committed to my local repository – SCCPAC files contained in a folder, in this case – to a remote repository.
- git push –set-upstream https://EntDNA@dev.azure.com/EntDNA/SSIS_Catalog/_git/SSIS_Catalog defines the remote repository as ” https://EntDNA@dev.azure.com/EntDNA/SSIS_Catalog/_git/SSIS_Catalog “.
- Finally, “master” informs the git push command which branch to push from the local repository to the remote repository.
If we refresh our Azure DevOps page, we now see our folder and files have, in fact, been sent to Azure DevOps:
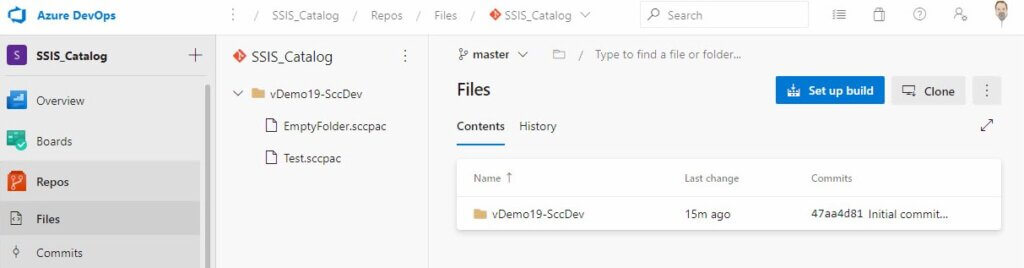
What have we done in this section? We Initialized a folder as the local git repository, added files to the local repository, committed the added files to the local repository, and then pushed the committed files in the local repository to the remote repository in Azure DevOps.
Mission accomplished. This was our goal.
Knitting It Together
We began this exercise by using SSIS Catalog Compare Enterprise Edition to generate SCCPAC files in the SSIS_Catalog folder. Going forward, we may make changes to the SSIS Catalog configuration metadata hosted on an instance of SQL Server. We may use SSIS Catalog Compare Enterprise Edition to add and update SSIS Catalog configuration metadata contained in SCCPAC files, and we may then transmit the additions and changes to source control using Azure DevOps and the git command line tools in PowerShell.
Cool! :{>
The files you mentioned associated with this you gave us the url of entdna.com/getSSISSamples. That will not let me in even though you said it was public. Same Ken Baker at Humana, just home email address :-).
Hi Ken,
I’ve been looking into this. Do you have an Azure DevOps account? I think you may need one to access the code, but I am uncertain.
Hope this helps,
Andy