

This post is for people interested in setting up an instance of SQL Server 2019 Developer Edition for personal use. I caution those interested in configuring an instance of SQL Server 2019 for production purposes: You should not use Developer Edition because it’s not for production workloads, by design (and according to the EULA).
In the previous post – titled Download SQL Server 2019 Developer Edition – I shared how one might download SQL Server 2019 Developer Edition, which is free.
Installing SQL Server 2019
Once you have downloaded the installation media for SQL Server 2019, you may mount the iso file:
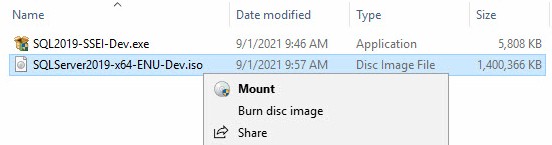
Once mounted, the contents of the iso file appear as a local drive on your server. To start the installation, open the setup file:

When prompted by User Access Control, click the Yes button as before.
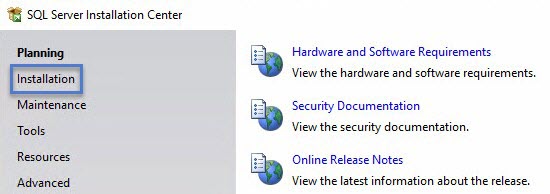
When the SQL Server Installation Center opens, click the Installation page:
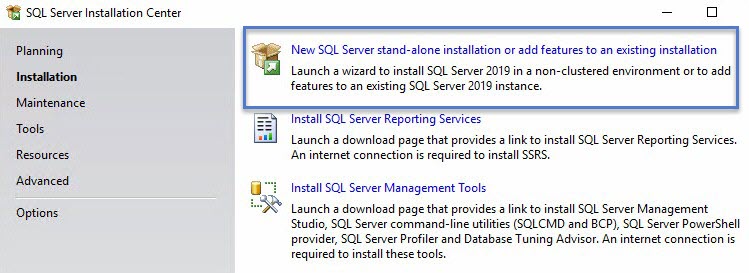
On the Installation page, click the tile labeled “New SQL Server stand-alone or add features to an existing installation”:
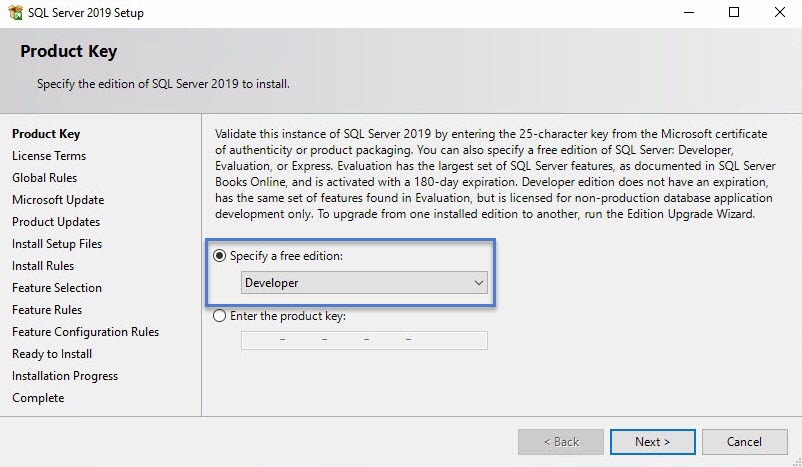
The Product Key page displays next in SQL Server 2019 Setup. I double-check the “Specify a free edition” dropdown is set to “Developer,” and then click the Next button:
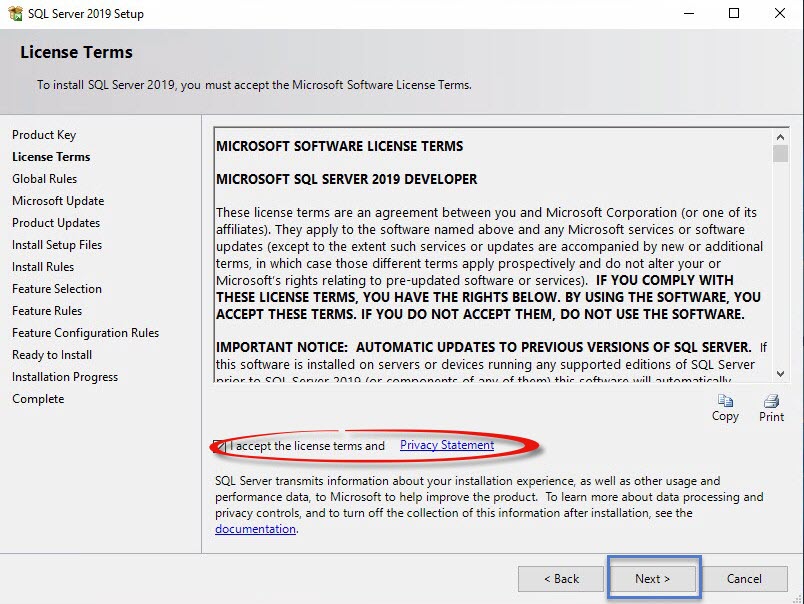
SQL Server 2019 Setup next displays the License Terms page. I check the “I accept the license terms…” checkbox and then click the Next button:
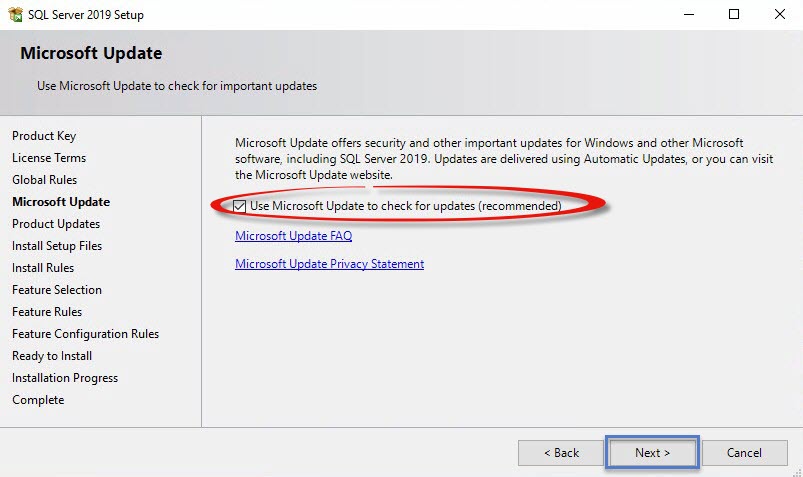
The Microsoft Update page is next in SQL Server 2019 Setup. I check this checkbox and then click the Next button:
SQL Server 2019 Setup next displays the Install Rules page.
I remind you, Dear Reader, that I am not a DBA. Nor am I a security professional. If these warnings are deemed “bad” according to either a DBA or security professional you know, please defer to their judgment on the matter.
Since I am configuring a database instance on my personal laptop for test and exploration purposes, I ignore the Windows Firewall warning and click the Next button:

The Feature Selection page is next displayed by SQL Server 2019 Setup. For this instance, I configure only the database engine:

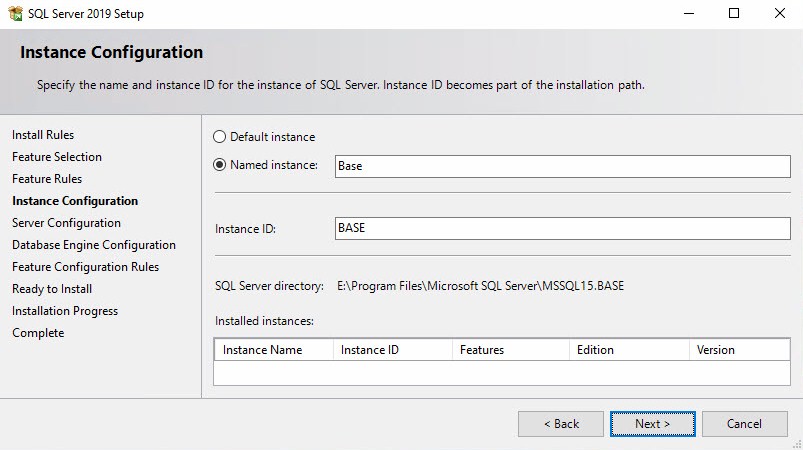
SQL Server 2019 Setup next displays the Instance Configuration page.
These days, I supply a name for my SQL Server instances, and then click the Next button to proceed:
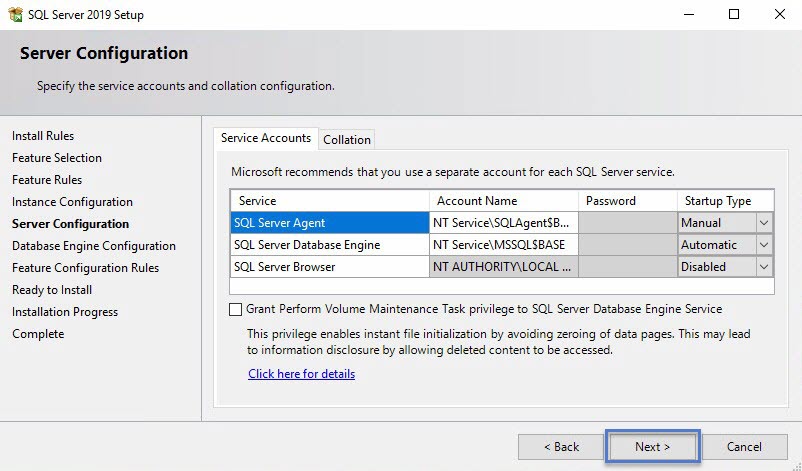
The Server Configuration page is displayed next by SQL Server 2019 Setup. I accept these defaults and click the Next button to continue:
Note: I prefer Mixed Mode for SQL Server Authentication. I am not a DBA, nor am I a security professional . If a DBA or security professional disagrees with me, please listen to them.
SQL Server 2019 Setup next displays the Database Engine Configuration page. I configure Mixed Mode authentication, supply a password (twice), and click the Add Current User button before clicking Next to proceed:

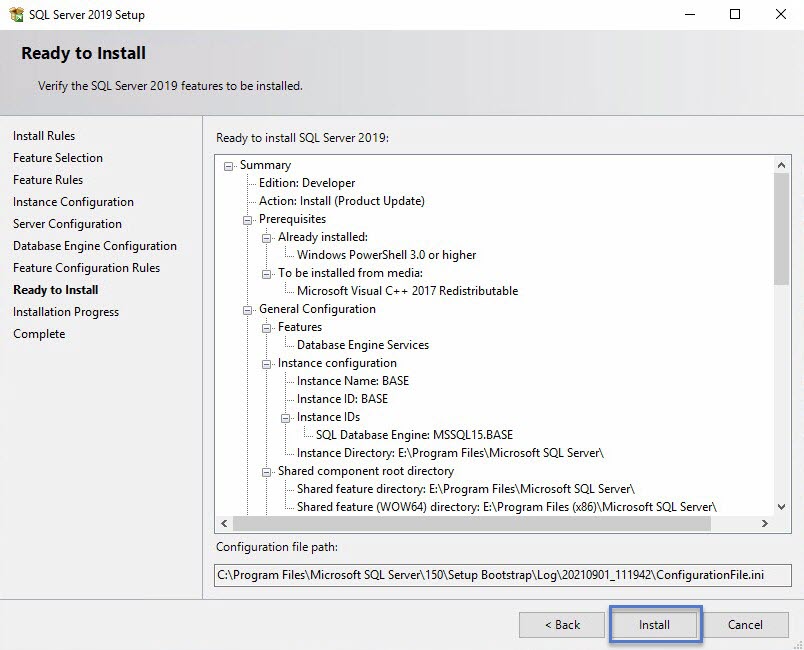
SQL Server 2019 Setup next displays a list of configuration options. Click the Back button to make changes, and then click the Install button to proceed with the installation:
Once the installation is complete, SQL Server 2019 Setup displays a summary. If all goes as planned, the installation should succeed:
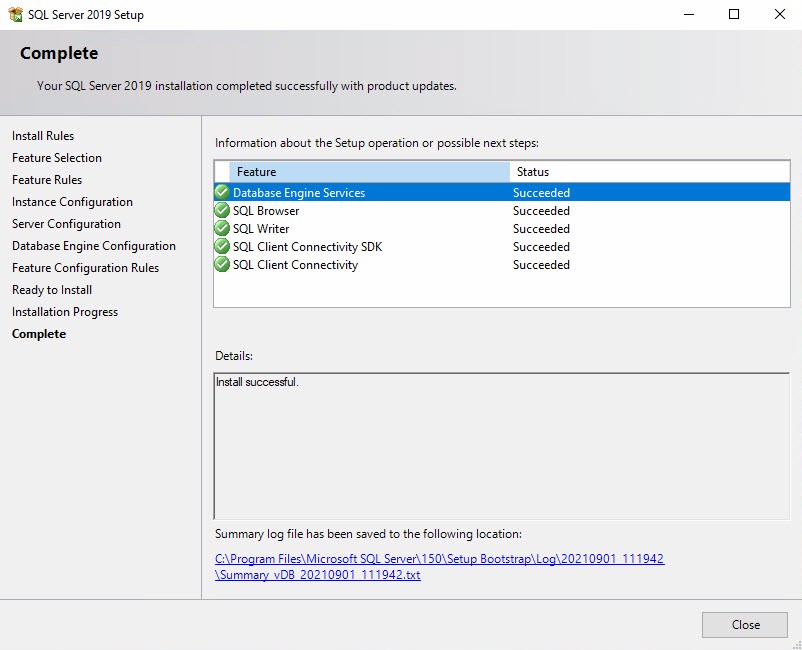
Click the Close button.
Conclusion
This post is part of a series. The landing page for the series is found here (andyleonard.blog/install-sql-2019).
2 thoughts on “Install and Configure SQL Server 2019 Developer Edition”